Wednesday, August 27, 2014

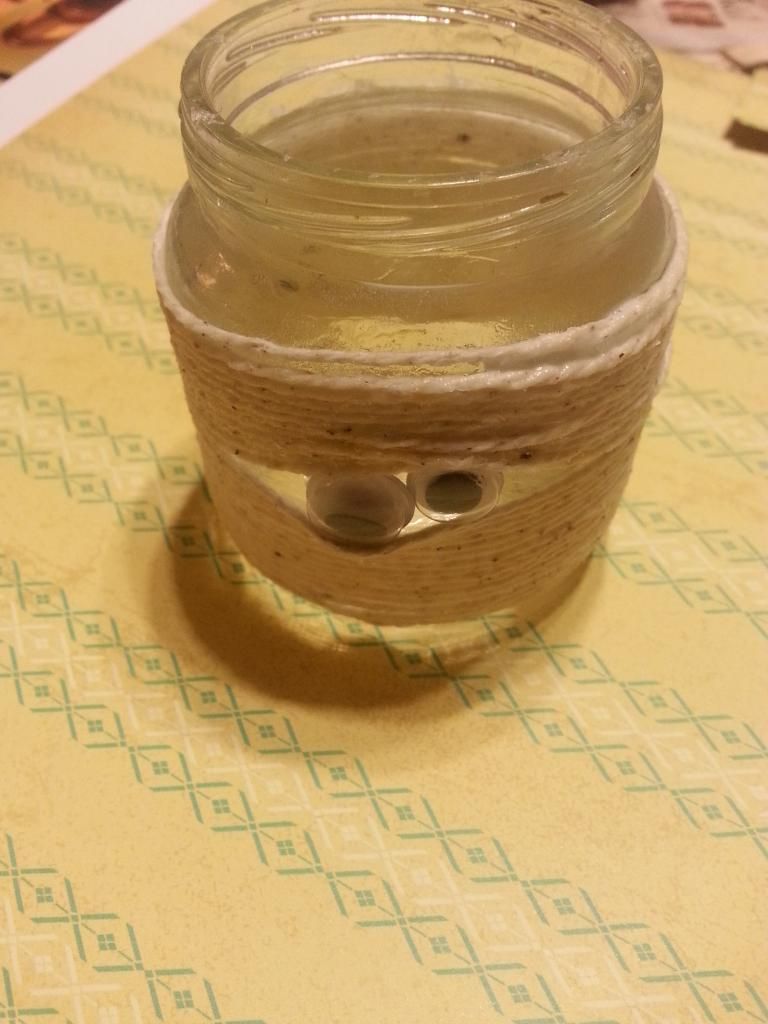
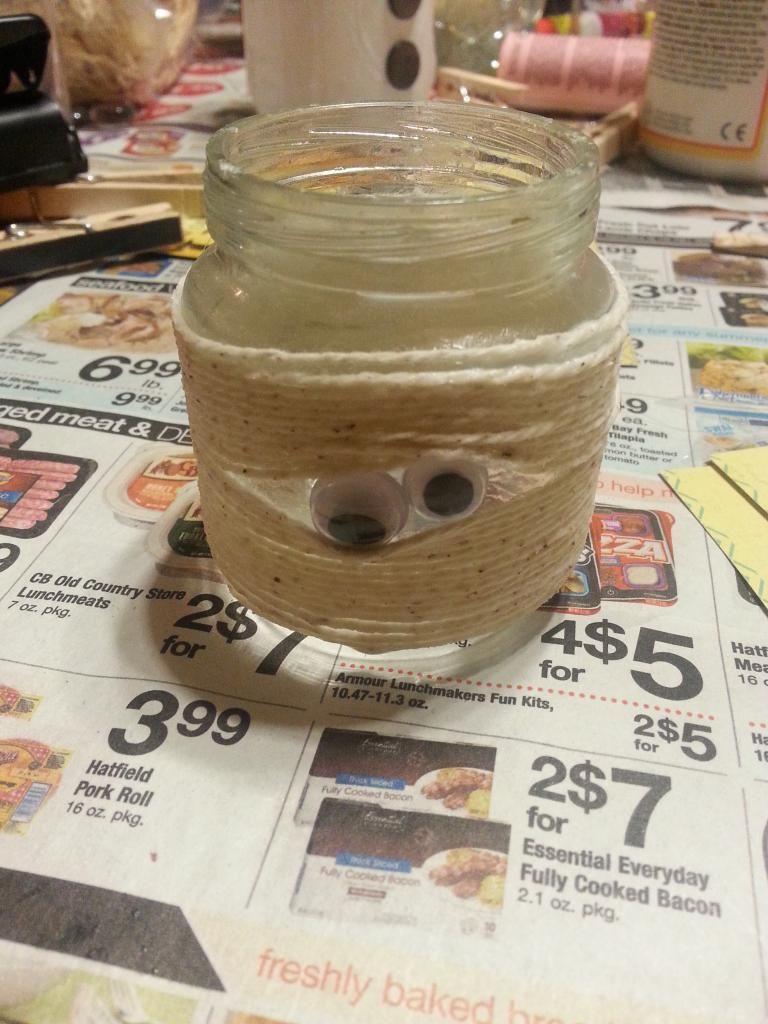
"Mummy" Baby Food Jar Tea Light.

                                      
                                         This has to be one of the easiest crafts I've made. I know your supposed to do this with gauze, but we didn't have any. I did however have natural twine.                                                                                        
Here's what you need:
  • Hot Glue Gun
  • Twine
  • Baby food Jar
  • Modge Podge

 I put a dot of glue on the back at the base of the jar and laid the string on it. I glued the eyes in the front where I wanted them positioned.  I let it dry and then brushed the ENTIRE jar front with modge podge. Waited about a minute or two until it was tacky. Then I layed the string on. squishing each layer against the other. When i had about 2 or 3 rows I brushed a little bit more M/P on the already laid string and on the area where I was going to be laying the next couple rows of string. I continued this for the whole jar and moved the string around the eyes they way I wanted. When my string reached the top of the jar I put another dot of glue on the back and stuck the string end to it. Then I M/P the ENTIRE thing (just not the eyes) and let it dry! It turned out a lot better then I thought it would and only took about 10 minutes total!
 

Friday, August 15, 2014

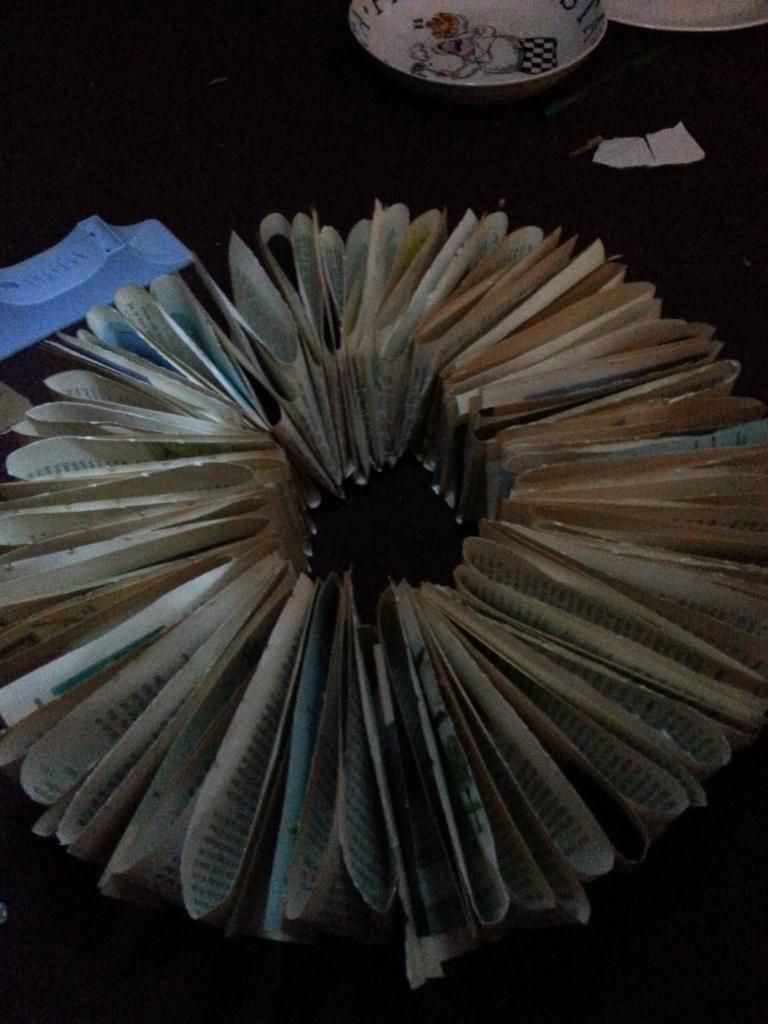
Upcycled Encyclopedia - "Education Wreath"

My basement is full of old books. Some worth money and some not. I have books that don't even have an ISBN! (REALLY!) 

I also have a large collection of encyclopedias, science encyclopedias. I've thrown out a ton of time magazines (ones with JFK on the front! got damaged by water). Now these aren't MY books, they came with the house. 

I've been debating what to do. I can't give them to libraries, because they won't take them. So I've been finding ways to upcycle them. 

So.. I made my Encyclopedia Wreather.. or as my Hubby calls it my 'education wreath.'


Here's what I used :
  • Glue Gun (several glue sticks)
  • 1 old 'Young Persons Science Periodical'
  • Scissors
  • 2 bowls (different sizes)
  • 1 paper box
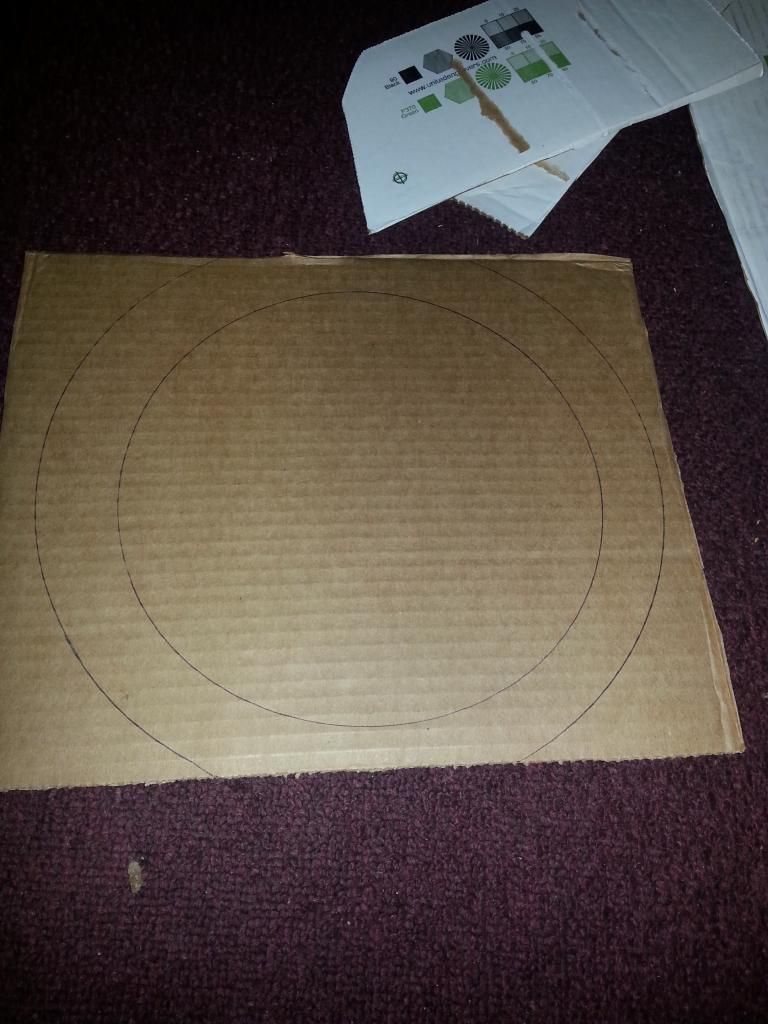
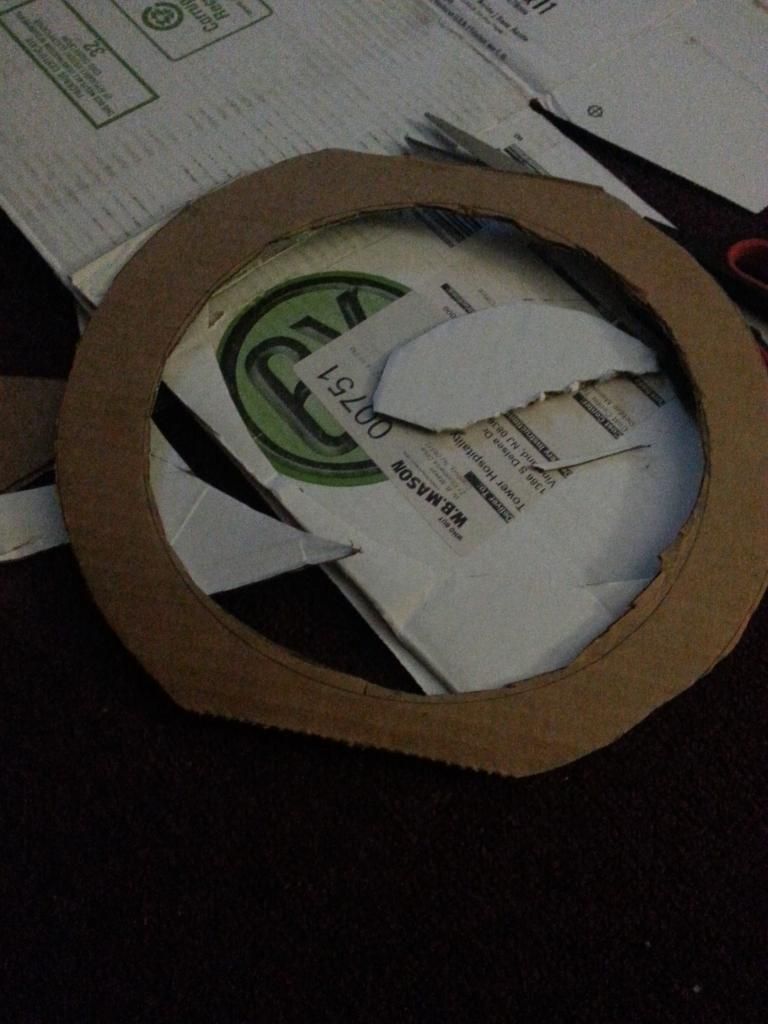
 I took the cardboard box apart and found the biggest spot and basically made my own wreath base. You could use one of the ones you buy in the store, but I already have enough junk and would prefer not to spend any money!

I put the big plate down and traced and then the smaller one in the center and traced it and then cut it out.
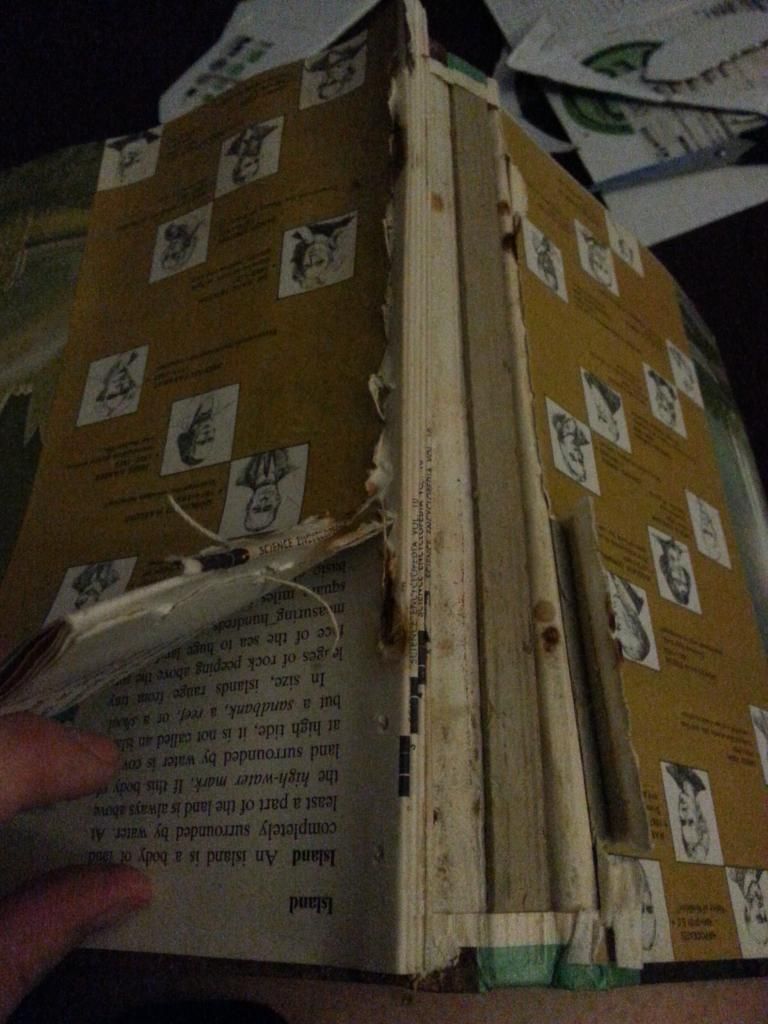
I carefully removed the cover and then realized that this was actually bound by string! I snipped the string and pulled it apart by the little booklets. I cleaned up the edges with scissors.
Then I folded them in quarters (not shown) making sure to fold each one the same direction (for consistency) I did top to bottom and then left to right. Then I'd place a small line of glue on the wreath and stick the page. Make sure you DO NOT crease your pages as you fold, otherwise it won't have the 'fan' effect.


They're very easy to make. I took a piece of ribbon and hot glued it to the back. (only had Christmas ribbon) and stuck it on the wall. 
I'm sure if I used a book in better condition and an actual wreath backing, it would look much better. But for being a spur of the moment craft under 30 minutes, I'm happy with it. Apperantly so was my 2 1/2 year old. She came out and after her little brother pointed it out.. She looked at me and sai "Mommy you made that all by yourself? It's so pretty!"
(Don't mind my clue gun whispies.. I did remove them!

Friday, August 8, 2014

Mind your manners at my dinner table, Please.

If you follow my blog or have even read one or two of my posts, you know I'm very frugal. I like homemade and prefer not to have a full trash can when its trash day.. (recycling can is another story) I've recently switched to cloth napkins and soon will be switching to "unpaper towels."

But this post isn't about my 'mis'adventures in DIY or pinterest.

As a mom of two and hopes of more, we've become very 'creative' in how we save money, cut down on trash, and feed our kids. My problem arises when we have company......

When you sit at my dinner table with food in front of you, whether it be spaghetti, chicken wings, or homemade peach cobbler and ask me for a napkin you're going to get the same thing, every-time. A cloth napkin. If you have asked me for something to wipe your hands & face with and I've put down my fork, walked away from my food, and handed you this cloth napkin.... It is OK to use it. That's why I've given it to you. Please don't continue to ask over and over 'if its ok.' Please don't tell me its 'too pretty' to use/dirty. I know they're going to get dirty (I have two kids!)

Once someone has stared at the napkin looked around the table and then looked at me and asked "Are you sure?" That's when things get uncomfortable....

(We've become a society of instant gratification and everything is disposable. So when you hand someone a cloth napkin it just seems to turn their world upside down.)

So now I have to sit at the table, instead of eating and explain myself.... all of it. The fact that we're financially strapped, trying to save money and cut down on waste. Not that I actually have to, but otherwise I get stared at like some kind of weirdo who hands out cloth napkins.

My post today isn't about DIY and money saving. Its about minding your manners (along with your own business) and sitting down a table to enjoy food, not fret about a napkin.

People today have to be more frugal, and not to mention going back to 'old school.' By that I mean actually cooking for their families and not popping something in the microwave. Not getting that instant gratification. Because when you've hand sewn your napkins and get a compliment or make your peach cobbler from scratch, THOSE compliments mean more then any other. ( I know this paragraph is off topic!)

So the next time you sit at a table and someone hands you a cloth napkin or an 'unpaper towel'. Just smile politely and say thank you. There's a reason behind their choice, and its just that THEIR choice.

And I feel I'm done my little rant now :)